Tie Dye
A. Come up with a plan.
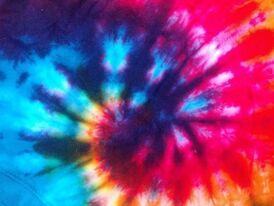
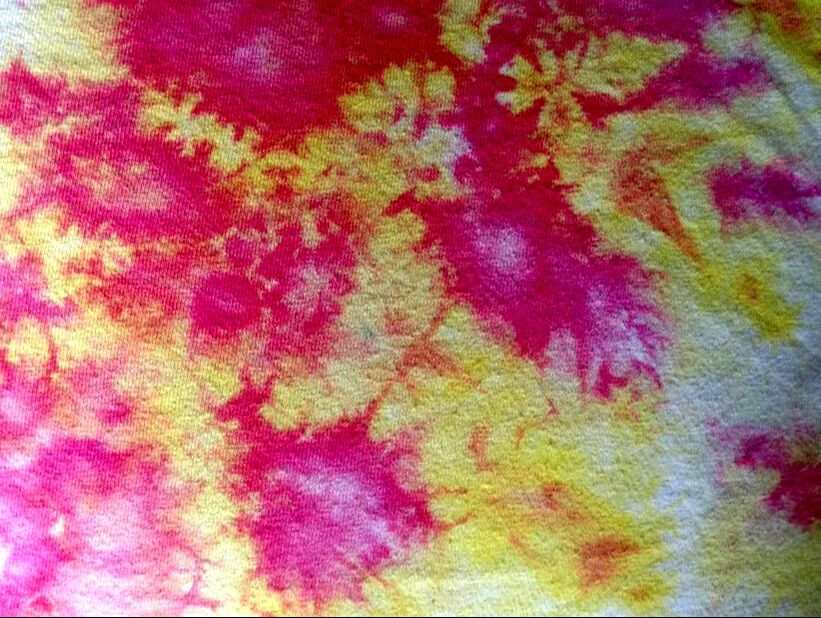
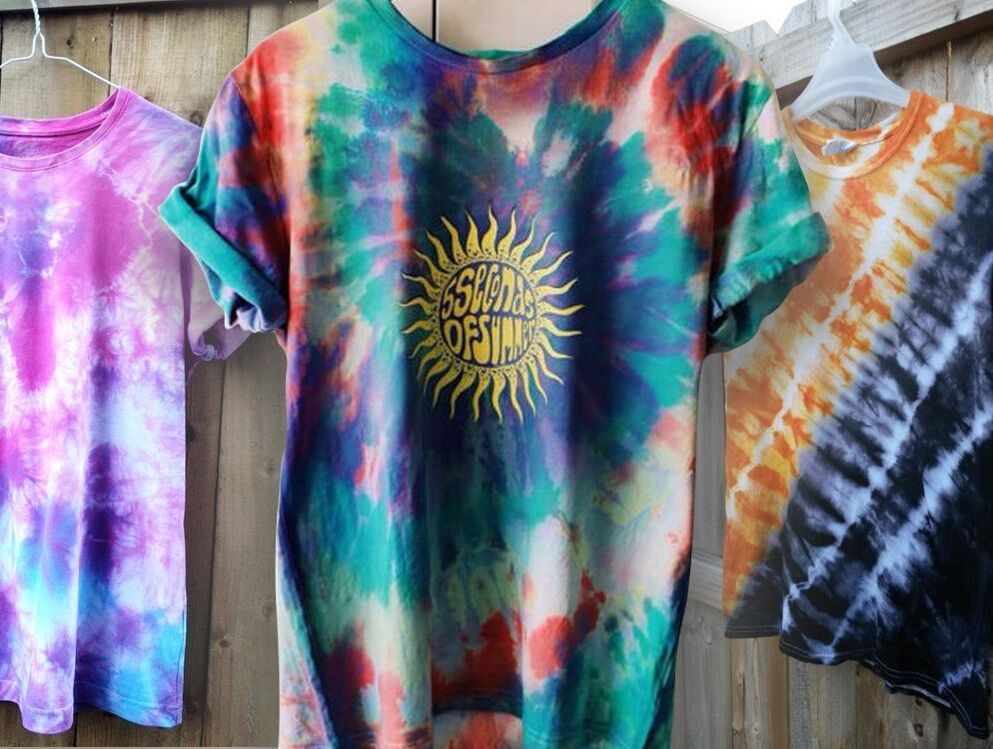
1. Research by looking through the examples below and pick the pattern you'd like for your tie dye. Write out (or illustrate) the steps to fold and tie it.
2. Pick the colors you want to use for your shirt. We will have yellow, magenta, cyan, green, grey and black. You will need to mix colors on your shirt to get oranges, reds or purples. Colors blend when they touch. Look at the color wheel to know what to expect. Draw/ write a plan of where each color will go. How can a sketch, diagram or text capture your thinking about color and design?
|
B. Dye!
All tie dye will be done on the counter near the dye materials. You will need: - A clean garment to dye, white or light color and cotton or other natural fiber. - A finished plan for tie dye (see step A). - Dye, gloves, soda ash soak, set up dye station and a plastic bag or two. |
Tie Dye Steps
1. Write name on the tag of your garment with sharpie.
2. Soak in soda ash for 5 - 15 minutes.
3. Ring out shirt and tie according to your plan.
4. Using gloves, dye your shirt in the set up dye station.
5. Place your dyed shirt in a plastic bag. Tie the bag and put your name on the outside with sharpie and tape.
6. Wait 24 - 48 hours.
2. Soak in soda ash for 5 - 15 minutes.
3. Ring out shirt and tie according to your plan.
4. Using gloves, dye your shirt in the set up dye station.
5. Place your dyed shirt in a plastic bag. Tie the bag and put your name on the outside with sharpie and tape.
6. Wait 24 - 48 hours.
Rinsing Instructions

1. Leaving ties on, rinse under cold running water to stop the dye reaction.
2. Next rinse in warm water while you untie. Keep rinsing until water runs clear.
3. Wash in the washing machine with warm water (and no other clothing).
Wear and look awesome.
2. Next rinse in warm water while you untie. Keep rinsing until water runs clear.
3. Wash in the washing machine with warm water (and no other clothing).
Wear and look awesome.
Screen Printing
C. Gather supplies and get to work!
|
Make screens to print with ink on fabric. So fun!
A. Look at the process here and write out the steps. B. Come up with a plan. What do you want to put on your screen? It can be a drawing or digital, it just has to be a graphic image (thick lines, simplified shapes). Here is one way to make a graphic image digitally. 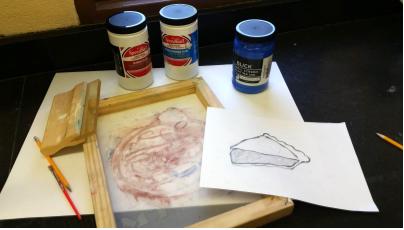
These materials are uses through the steps of screen printing.
|